How to Add Captions and Subtitles to DaVinci Resolve Studio
Learn how to add closed captions and foreign subtitles to the DaVinci Resolve Studio video editing software. Export your captions for your next project.
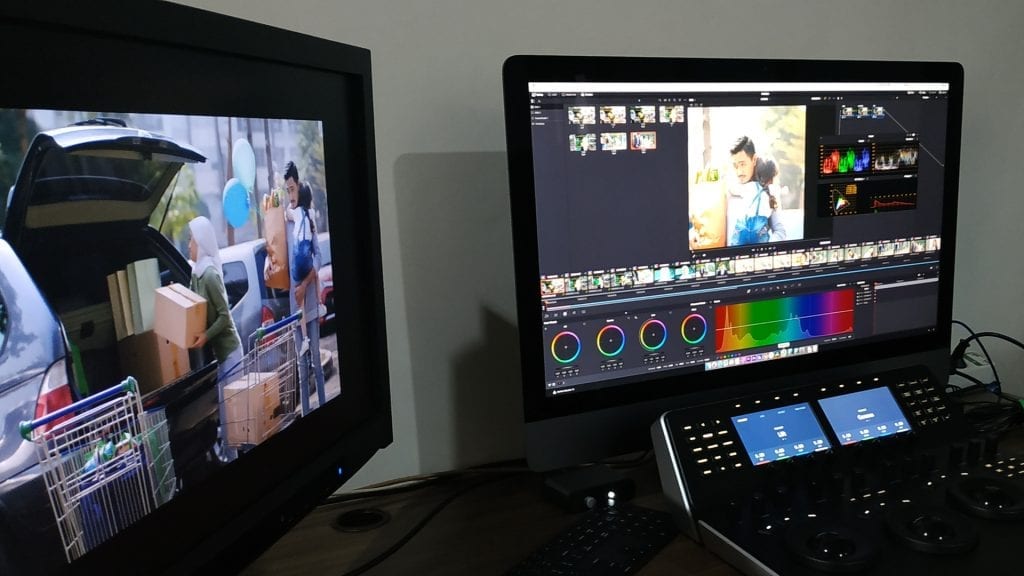
DaVinci Resolve Studio puts slick professional video editing capabilities into the hands of just about anyone. (There’s even a free version available, called simply “DaVinci Resolve.”) This professional-level video software has empowered a revolution of aspiring filmmakers.
No matter how you’re leveraging it, chances are, if you’re using DaVinci Resolve Studio, you might want to use closed captions or foreign subtitles with your film and video projects.
Captions and subtitles can elevate your films and videos to add clarity and can also make your DaVinci Resolve projects more accessible to wider audiences. This includes people with hearing impairments or those who speak other languages. It can be a game-changer if you’re looking to reach international audiences with your content. So, let’s get started.
How to Get Captions For DaVinci Resolve Studio Videos
A much easier approach to adding closed captions or foreign subtitles to your DaVinci Resolve Studio projects is to import a caption file.
Don’t have a caption file? Consider having one created. Getting your audio professionally transcribed can save you a lot of time. Professional transcription is often more accurate, too. You can order a professional caption file here.
Once you have the file, importing it to your DaVinci Resolve Studio film project is a breeze. The following questions and answers provide more details on how the process works.
What Caption Formats Are Accepted in DaVinci Resolve Studio?
DaVinci Resolve Studio accepts caption and subtitle files that are in SRT or FCPXML format.
Importing Captions Into DaVinci Resolve Studio
To import an SRT or FCPXML captions file, follow these instructions:
- Under “File,” select “Import…” or “Import AAF, EDL, XML.”
- Then select the SRT or FCPXML file from your computer to upload.
How to Edit Your Captions in DaVinci Resolve Studio
Once you’ve imported your captions file, you may want to make adjustments to how they appear on screen. You can copy individual captions and place them into the timeline and edit as you see fit.
Keep these tips in mind when adjusting closed captions on your DaVinci Resolve Studio Films:
- Keep subtitles to just one to two lines. If a subtitle is just one line, it should bottom-align. That is, it should go along the same positioning on the screen as the second line would be in a two-line subtitle.
- Don’t get too close to the edge of the screen. While you don’t want your captions to dominate the screen, you also don’t want them so close to the edge that they’re hard to read.
- Consider readability. Be mindful of contrasts. Light-colored lettering is hard to read against a light-colored background. In some cases, it might make sense to use a box around the subtitles, so you can ensure contrast.
- You may need to adjust fonts. If your caption transcript includes italics, that detail might be lost when the file uploads to DaVinci Resolve Studio.
- You don’t need subtitles on every frame. It’s standard to have a few blank frames in between.
Entering Captions Directly Into DaVinci Resolve Studio (Manual Method)
The most bare-bones way to create subtitles in DaVinci Resolve Studio is to enter them manually. You simply:
- Get your video track set up on your timeline.
- Then drag a text generator effect over to where you want to insert a caption.
- Type in your caption or subtitle.
- Repeat as needed.
This method is dependable and might be useful if you’re making up captions on the fly. But this method can also be tedious and tiring, especially if you’re looking to transcribe an entire feature film. Fortunately, there’s an easier way.
Exporting Captions from DaVinci Resolve Studio?
As you work through the captions and subtitles in your video, you may make changes that you want to capture in a revised transcript. Unfortunately, there’s not an automatic way to do this. I can be done though.
To export a your captions from a DaVinci Resolve Studio project, but you have to create a captions-only file from your full project timeline. Here are the steps:
- Create a copy of your full video timeline.
- Give the copied file a unique name, such as “Export file” or “Caption copy.” This will help avoid confusion. You want to keep both files.
- In the copied file, delete all the media except for the captions. Save it.
- Then, right-click the captions-only file to export it as an FCPXML file.
Want us to add the captions to your videos for you? Rev now offers burned-in captions (open captions). Just check the “burned-in captions” box at checkout and you’ll receive a video with permanent, hard-coded captions added straight to your videos. Also available for foreign language subtitles!
If you’re creating multiple versions, such as versions in different languages, you’ll need to repeat the process for each caption file. If you find you make a lot of changes in the editing process, it might be a good idea to work through the English version first. Then send a revised copy of the caption file for translation, so that the other language versions align as closely as possible.
DaVinci Resolve captions are fairly easy to work with, and that’s important as we increasingly use videos to connect and convey information. Including captions and subtitles can make a real difference in the number of people you can reach with your videos. In some instances, such as if you’re making online course videos, including closed captions, may even be required by law.
Whether you use DaVinci Resolve Studio for creative or professional purposes (or both), knowing how to add captions takes your film-making skill set to another level.

