Interview Recording Tips For Cell Phones: AKA Capturing on the Go
Cell phones can be a useful voice recorder if you have the right apps and environment. Let’s look at several key interview recording tips for cell phones.


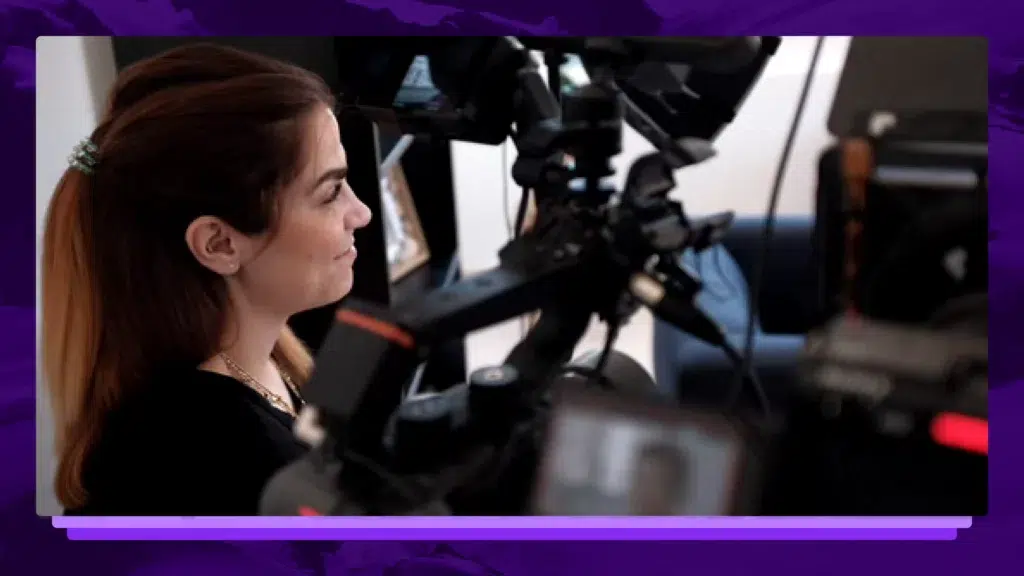
Many fields, from journalism to the legal field to market research to podcasting, require the ability to capture an interview or a soundbite on-the-go.
Imagine you’ve found the perfect witness or interview subject, but they’ve only got a moment to spare and you need to be ready to record fast. It goes without saying that you’d want to be able to record perfect audio and get what you need quickly.
Let’s look at the best ways to record audio from a phone and the best audio recording apps to help you get a great interview — no matter if you’re on the go, in-person, or conducting a phone interview.
Best Practices Before the Interview
Learning how to record an interview on your phone is easy; you just need to find the best apps that can help you accomplish your goals and the best way to capture clear audio. Let’s look at some must-dos before your on-the-go interview begins.
1. Check Your Software
You might not have a lot of time to set up or prepare for an on-the-go interview, so you should make sure that everything is ready to go beforehand. That means checking that your most crucial interviewing apps (like a transcription service) don’t require an update, your phone is charged, and you have what you need installed.
That will not only reduce the awkwardness of having to wait for an app to update if needed, but it can also help maximize your interview time by having everything squared away before it starts.
2. Find a Quiet Space
It’s heartbreaking to press play on a great interview and find that the background noise has rendered it useless. Before starting, make sure you’re in a quiet environment with as little background noise as possible. That way, your interview will be as high-quality as possible (and if you’re using an interview transcription service, you can get the file accurately transcribed).
Sometimes background noise will be inescapable. In those cases, try to make the audio as clear as possible by keeping your phone still, holding the phone’s microphone about 6-8 inches from the person speaking, and using an external microphone when possible.
3. Put Your Phone On Do Not Disturb
An important part of recording interviews is eliminating as many distractions as possible. Notifications like texts, emails, Instagram likes, and more can be a huge distraction while you’re recording your interview. In that same vein, notifications like calls or FaceTimes run the risk of stopping your recording altogether or deleting it, which could be a huge pain and a potential loss of your entire interview.
Recording Tips For During the Interview
Your main focus during an interview should be asking the right questions and listening attentively to the answers. You can do that with confidence by making sure you have your technology set up correctly.
1. Put Your Phone Down
Holding your phone in your hand may create noises that make the interview hard to hear. Also, moving during the conversation may make the video sound distant or far away. To ensure the interview recording is steady and easy to understand, you should put your phone on a flat surface that is equidistant from you and your subject.
2. Invest in an External Microphone
If you’re just doing a one-off interview, you may not need to invest in a microphone. However, if you’re a lawyer, journalist, or researcher who conducts a lot of on-the-go interviews, you should invest in an external microphone. Typically, these microphones can attach right to your phone or use Bluetooth technology. The microphone will help capture clearer audio of your interview.
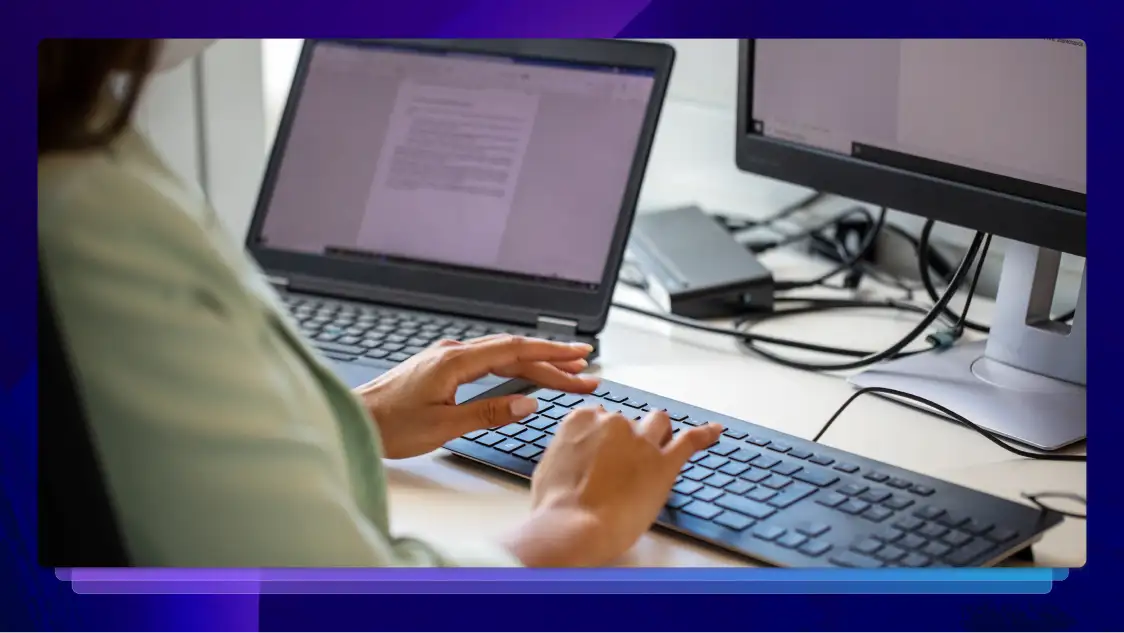
3. Record With An Audio Transcription Service
Audio transcription services can eliminate a lot of the grunt work from recorded interviews. You can use them to get a written transcription of your interviews and even provide the most important insights and ideas shared. That way, you don’t have to spend your valuable time scrolling through your recording to find what you need.
Rev is a great option for a transcription service. Our comprehensive transcription service not only provides an accurate written transcription, but it also uses artificial intelligence to help you sort your ideas and pick out the most important topics covered.
What To Do After the Interview
While the interview jitters may subside after you’ve finished the event itself, most likely, you’ll still have a bit of work to do. Analyzing, editing, and storing your interview file are up next. Here are some expert tips for what to do after you're done recording.
1. Backup Your File
You never want to lose an interview — especially not if it’s with a high-profile subject or particularly time-sensitive. One way to prevent this is by backing up your recording on a Cloud-based platform.
Another backup option is to generate a transcription of your interview (with a service like Rev) and store that, so you have both the audio and the written file to reference if needed.
2. Pick Out the Most Important Insights
Interviews can get pretty lengthy, so it may become tedious to pause, rewind, restart, and pause the recording as you try to find the most important bits. However, you have to comb through the interview to find the most important soundbites.
Products like Rev’s AI Notetaker can help by using artificial intelligence to find the most important insights for you, making the job all that much easier. Rev does the heavy lifting with post-interview transcription by automatically providing a detailed, time-stamped transcript of the meeting that includes speaker names and highlights.
3. Edit Your Audio
If you’re using your interview for an audio purpose — like a podcast or video — you’ll need to edit it. This means picking out clips of the most important bits and cleaning them up so they’re as high-quality as possible. You can do this with sound editing apps like Podcastle, Audacity, or even GarageBand.
Benefits of Recording Your Interviews
Society has progressed beyond only using pen and paper for a reason. Namely, it isn’t as quick or efficient as using some of the technology that’s available. Recording interviews can help you focus more on the interview itself, instead of writing down insights and getting distracted taking detailed notes.
Some other benefits of recording your interviews include:
- You can focus more on the interview instead of on transcribing by hand as you’re conducting it
- You can quote or reference the interview more accurately
- You can provide proof of accuracy of your interview if someone claims you misquoted them
Let’s Go On the Record
The biggest interview recording tips for cell phone interviews? Find a quiet place, make sure you have the right technology, and always transcribe your interview. That way you can get the best-quality audio and reference it as often as you like, hassle-free.
.webp)